Processing of the film image is carried out to provide a registration mark (the diffraction cone center) and to remove the background. I use the PC version of NIH Image available from the Scion Corporation for this phase. Eventually it may be possible to use ImageJ, but at present, the Image PC version from Scion has the most functionality.
The first step is to determine the center of the diffraction cones. Unfortunately, there is no easy way to do this and you must measure the diameter of the arcs to determine the center point. Using the crosshair tool, carefully measure the left and right positions of the arc midpoint and the height that a centerline would be positioned at. From these measurements (use several arcs for the best accuracy) find the center point. For example:
Right arc = 400 pixels (X) with a centerpoint of 200 pixels(Y)
Left arc= 800 pixels (X) with a centerpoint (if accurately scanned!) also of 200 pixels
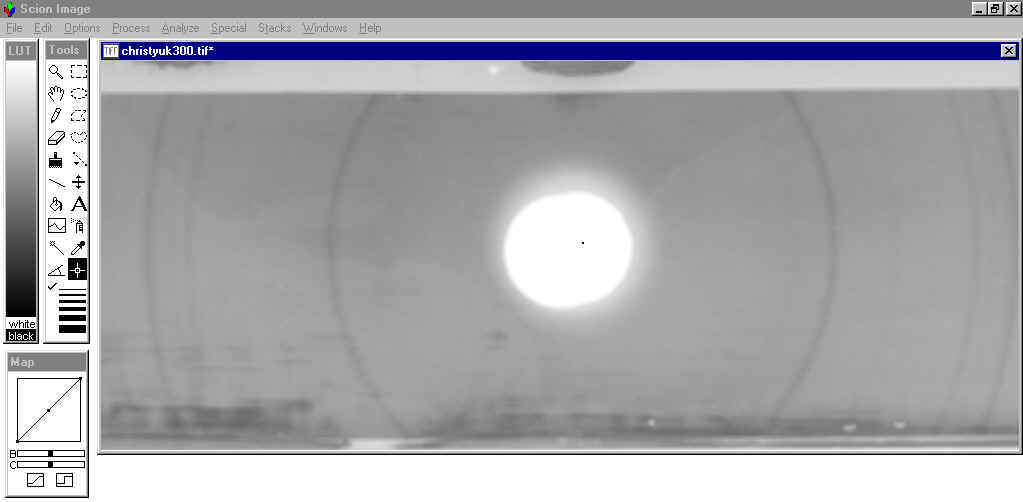
The centerpoint would then be (800 - 400)/ 2 + 400 or 600 pixels (X) and 200 pixels (Y). You would place the crosshair on an XY position of 600/200 and click to place a one pixel dot at the center of the diffraction cone. This will serve as a zero position indicator
Below is an example of the center located on the film. NOTE that it is not in the center of the punched holes.
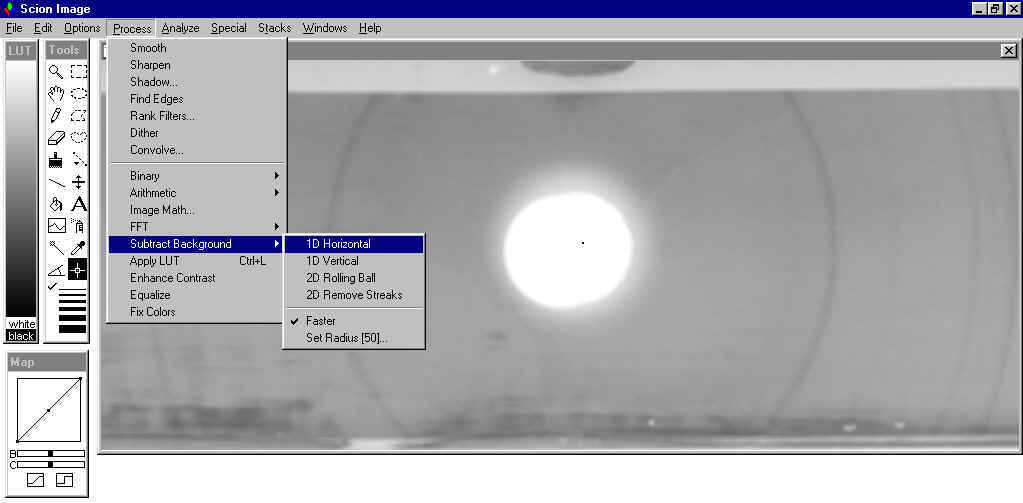
The next step is to remove the background. There are many filters available for this, but I have found that the simple 1D horizontal filter that is available will all the versions of Image does an excellent job and does not introduce any distortions (at least that I can detect)
Select the filter as illustrated below
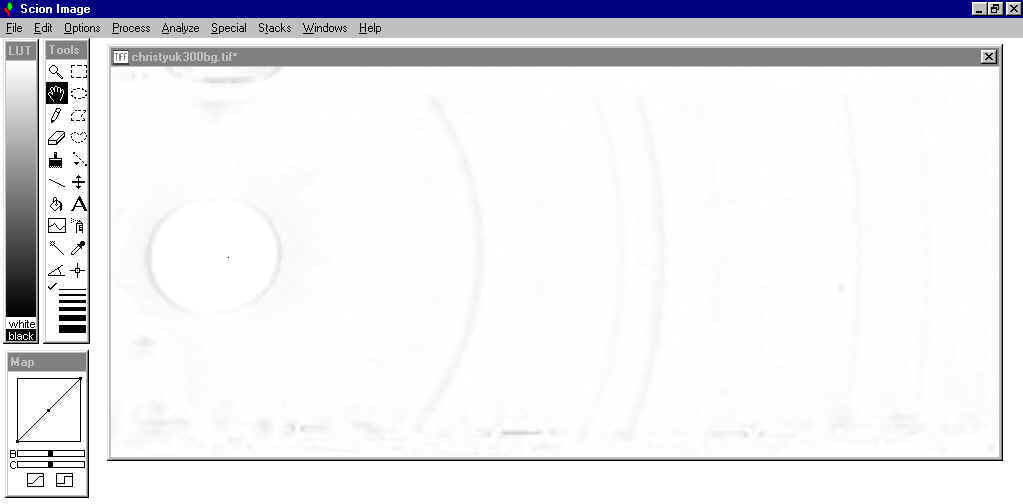
When the background has been subtracted the image will have only weakly visible arcs. You may think that it has completely removed some arcs, but they are still there and will show up when you plot the profile.
The background subtracted image appears like the example shown below